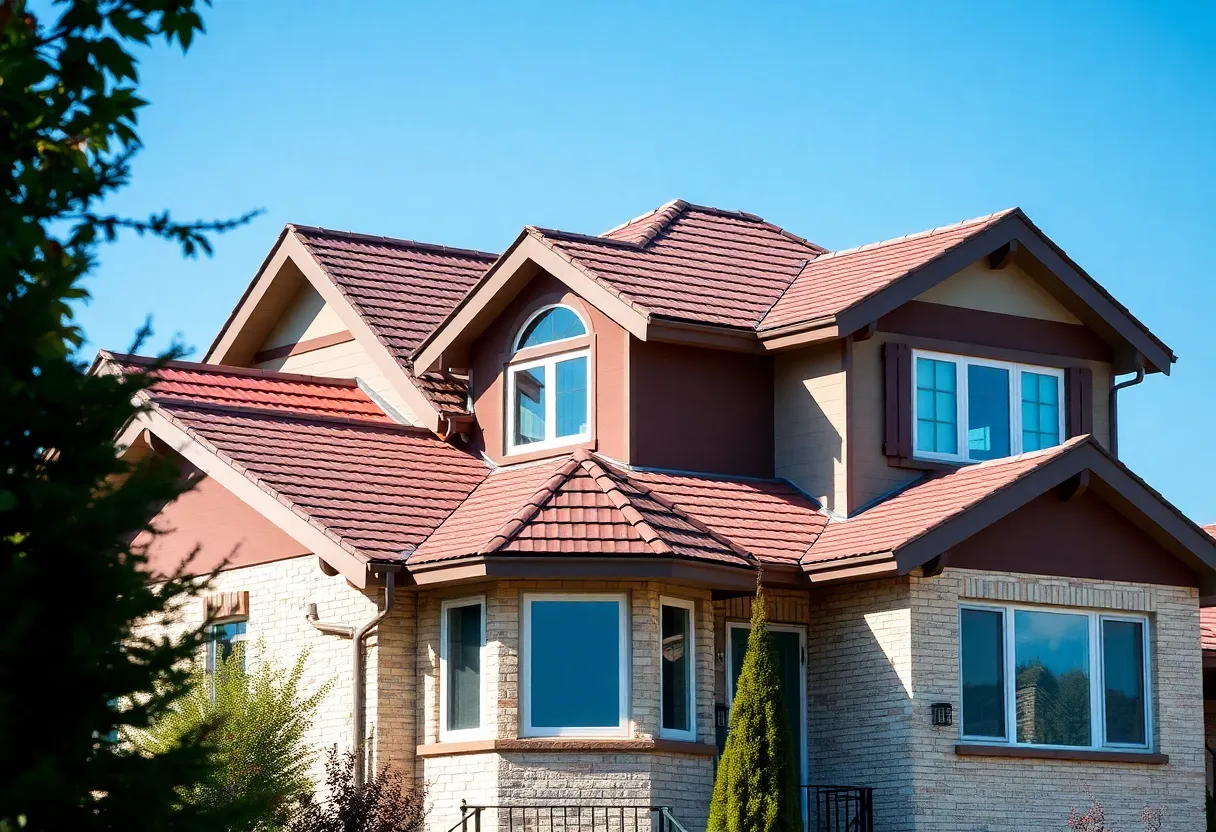
How to Plan Your Perfect Roof Design: Essential Steps for Homeowners
A roof holds an essential place in a home’s structural integrity and aesthetic appeal. Deciding on a roof design involves numerous factors that influence both functionality and appearance. Hence, homeowners must approach the planning process with care and deliberation. This guide outlines the steps necessary for planning your perfect roof design.
1. Understand Your Local Climate
Climate considerably impacts roofing materials and design. Homes in areas with heavy snowfall require sloped roofs to prevent snow accumulation, while regions prone to hurricanes benefit from aerodynamic shapes that reduce wind resistance. Begin by evaluating:
- Rainfall patterns: Different materials withstand moisture differently.
- Temperature fluctuations: Ensure materials can expand and contract appropriately.
- Wind conditions: Select designs that resist high winds or heavy storms.
2. Assess Your Home’s Architectural Style
The architectural style of your home should guide your roofing choices. A cohesive design ensures that your roof complements the overall look of your dwelling. Consider the following styles:
- Traditional: Gable and hip roofs are common choices.
- Modern: Flat roofs or minimalists designs offer a sleek look.
- Rustic: Use pitched roofs with wooden shingles for a natural feel.
3. Choose the Right Materials
Roofing materials vary in terms of durability, cost, and appearance. Selecting the right material is crucial for achieving both aesthetic appeal and long-term functionality. Here are common roofing materials:
- Asphalt shingles: Affordable and prevalent, offering a variety of styles.
- Metal roofing: Resilient and long-lasting, ideal for various climates.
- Tile or slate: Elegant but heavy; necessitates a sturdy framework.
- Wood shingles: Provides a rustic look but requires higher maintenance.
Considerations for Material Selection
When selecting roofing materials, consider durability, cost, and insulation properties:
- Longevity: Some materials last longer than others, affecting lifecycle costs.
- Energy efficiency: Certain materials can better reflect heat and reduce cooling expenses.
- Maintenance needs: Understand how much upkeep your chosen materials will require.
4. Evaluate Energy Efficiency
Rooftop designs can significantly influence energy consumption. Here are steps to enhance energy efficiency:
- Insulation: Proper insulation prevents heat loss during winter.
- Reflective materials: Use materials that reflect sunlight to lower cooling costs.
- Roof design: A well-ventilated roof helps moderate temperatures.
5. Determine Local Building Codes and Restrictions
Building codes dictate various aspects of roof construction and renovation. Familiarize yourself with local regulations to avoid penalties and ensure safety:
- Height restrictions: Know how tall your roof can be.
- Material specifications: Local regulations may specify which materials are acceptable.
- Permit requirements: Obtain any necessary permits before beginning work.
6. Sketch Your Roof Design
Creating a detailed sketch helps in visualizing your roof design and allows you to experiment with different layouts. Use software or hand-drawing techniques to map out essential elements, such as:
- Roof pitch: Determines the angle of your roof and affects water drainage.
- Overhangs: Helps protect walls and windows from the elements.
- Features: Consider adding skylights or ventilation systems.
Tools for Roof Design
Utilize design software that allows you to efficiently create roof plans. Consider software with 3D visualization features to better illustrate how your roof will look once completed.
7. Budgeting and Cost Analysis
Establish a realistic budget for your roof design project. Take into account all expenses:
- Material costs: Different materials come with varying price points.
- Labor costs: Hiring professionals may increase the total investment.
- Ongoing maintenance: Factor in costs for future upkeep.
8. Consult with Professionals
Bringing in professionals can offer invaluable insights. Roofers, architects, and designers contribute expertise that can improve both functionality and aesthetics:
- Architects: Help in creating designs that fit your vision.
- Contractors: Provide estimates and help you stay within budget.
- Builders: Ensure the project adheres to regulations and safety standards.
9. Review and Revise Your Design
Once you have a preliminary design, review it critically. Revisit your requirements and adjust any elements as necessary. Consider:
- Functionality: Does the design meet your needs?
- Aesthetics: Is it visually pleasing and cohesive with the home?
- Budget: Are there ways to economize without compromising quality?
10. Start the Construction Process
With everything in place, you can move forward with construction. Make sure to maintain clear communication with your contractors and stick to the agreed-upon timeline and budget:
- Weekly check-ins: Stay informed on progress.
- Document changes: If changes arise, document them for future reference.
- Quality checks: Ensure work is carried out to the desired standard.
11. Perform Regular Maintenance
After completion, maintaining your roof becomes essential for longevity. Implement a maintenance schedule that includes:
- Regular inspections: Identify wear and tear early on.
- Clearing debris: Remove leaves, branches, and dirt to prevent damage.
- Seasonal checks: Inspect your roof before winter and the rainy season for potential issues.
Conclusion
Planning your perfect roof design is a multi-faceted process that requires attention to detail. By following these essential steps, you can create a roof that not only enhances your home’s aesthetic but also meets practical needs. Comprehensive consideration of climate, architectural style, materials, and maintenance will lead to a successful roofing project.
By investing time and resources into thoughtful planning, homeowners can ultimately enjoy the satisfaction of a well-designed, functional roof that withstands the test of time.


