
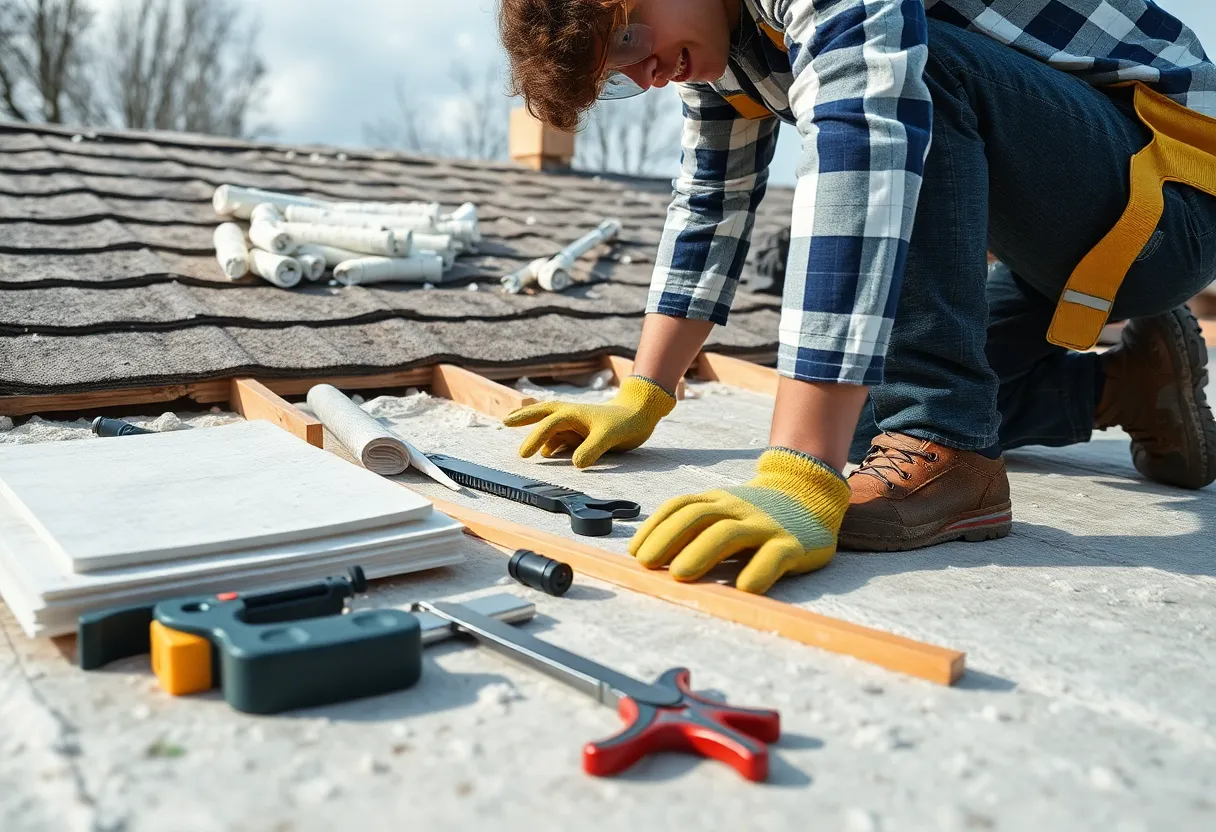
A step-by-step roof insulation installation process.
Want to target the right audience? Sponsor our site and choose your specific industry to connect with a relevant audience.
Prominent brand mentions across targeted, industry-focused articles
High-visibility placements that speak directly to an engaged local audience
Guaranteed coverage that maximizes exposure and reinforces your brand presence
Interested in seeing what sponsored content looks like on our platform?
May’s Roofing & Contracting
Forwal Construction
NSC Clips
Real Internet Sales
Suited
Florida4Golf
Click the button below to sponsor our articles:
Sponsor Our ArticlesInstalling roof insulation is a practical project that can significantly enhance your home’s energy efficiency. This guide outlines a comprehensive step-by-step approach to facilitate a smooth installation process. Understanding the fundamentals will empower you as a homeowner to make informed decisions and execute a successful insulation project.
Before diving into the installation, it is critical to grasp the core purpose of roof insulation. Roof insulation provides thermal resistance, helping to maintain desired temperatures within a home. Effective insulation reduces energy costs and contributes to a more sustainable living environment.
Various materials are available for roof insulation. Selecting the right type affects performance and costs. Below are the most common materials:
Fiberglass is widely used due to its effectiveness and affordability. It comes in batts or loose-fill forms and offers excellent thermal performance.
Spray foam creates an air-tight seal, providing superior insulation. Although initial costs are higher, its long-term benefits are significant.
Mineral wool is fire-resistant and provides excellent soundproofing. It is a sustainable option, often made from recycled materials.
This type reflects radiant heat away from living spaces. It is particularly useful in warmer climates and can be combined with other insulation types for improved performance.
Proper preparation is crucial for a successful insulation project. Follow these preparatory steps:
Before beginning the installation, ensure you have all necessary tools and materials:
Evaluate your roof structure and existing insulation (if any). Identify areas needing additional insulation and measure dimensions to determine quantities needed.
Regulations may dictate insulation types and R-value requirements in your area. Ensure compliance to avoid potential issues in the future.
Install roof insulation carefully by following the steps outlined below:
Ensure the space is clean and free of debris. A clear work area increases safety and efficiency throughout the project.
For roofs prone to moisture, consider installing a vapor barrier. This layer prevents moisture from entering insulation, maintaining its integrity. Position the barrier on the warm side of the insulation.
Ensure insulation is secured in place. For batts, use a staple gun to attach facing edges to rafters, if applicable. Loose-fill materials should naturally stay in place when appropriately installed. For spray foam, ensure sufficient curing time as per instructions before accessing the space.
Identify and seal air leaks in the roof area using caulk or tape. This step is essential to maximize insulation efficiency and prevent drafts.
Once the insulation is installed and secured, cover it with drywall or sheathing. This protects the insulation and provides a finished appearance.
After completing the installation, several considerations remain:
Conduct a thorough inspection to ensure the insulation is evenly distributed and securely placed. Check for gaps or any missed areas.
Ensure that the roof space remains ventilated. Proper ventilation is critical in avoiding moisture buildup, which can damage insulation and lead to mold growth.
Regularly monitor your insulation’s performance. Look for signs of mold, moisture, or deterioration and address these issues promptly.
Installing roof insulation offers numerous benefits ranging from energy savings to improved comfort. Here are some advantages:
By reducing heat transfer, roof insulation lowers heating and cooling costs. Properly insulated homes are less reliant on HVAC systems, leading to significant utility savings.
Roof insulation maintains stable indoor temperatures, creating a more comfortable living environment. Less temperature fluctuation means fewer uncomfortable hot or cold spots in the home.
Homes with effective insulation can command higher appraisals. Potential buyers often prefer homes that promise lower energy bills and superior comfort.
Proper insulation reduces energy consumption, contributing to a smaller environmental footprint. This aligns with increasing consumer demand for sustainable living practices.
Installing roof insulation is an achievable and beneficial project for homeowners. By following this step-by-step guide, you can enhance your home’s energy efficiency, comfort, and overall value. Always remember to prioritize safety and adhere to local building codes, and consult professionals as necessary. Taking the initiative to insulate your roof can result in long-term rewards for both you and the environment.
News Summary Multiple wildfires are currently engulfing the Carolinas, including a significant fire near Myrtle…
News Summary Columbia, South Carolina, is experiencing severe weather, including tornado and thunderstorm warnings. Residents…
News Summary A South Carolina jury awarded $700 million to the family of Brittanee Drexel,…
News Summary South Carolina has claimed the number one spot in U-Haul's 2024 Growth Index,…
News Summary With an influx of new residents from high-cost states, Charleston, South Carolina, is…
News Summary La Unica Super Center in Greenville, SC, closed on February 3rd in solidarity…


